%20(6).png)
Your Meta Quest 3 / 3S was working perfectly…
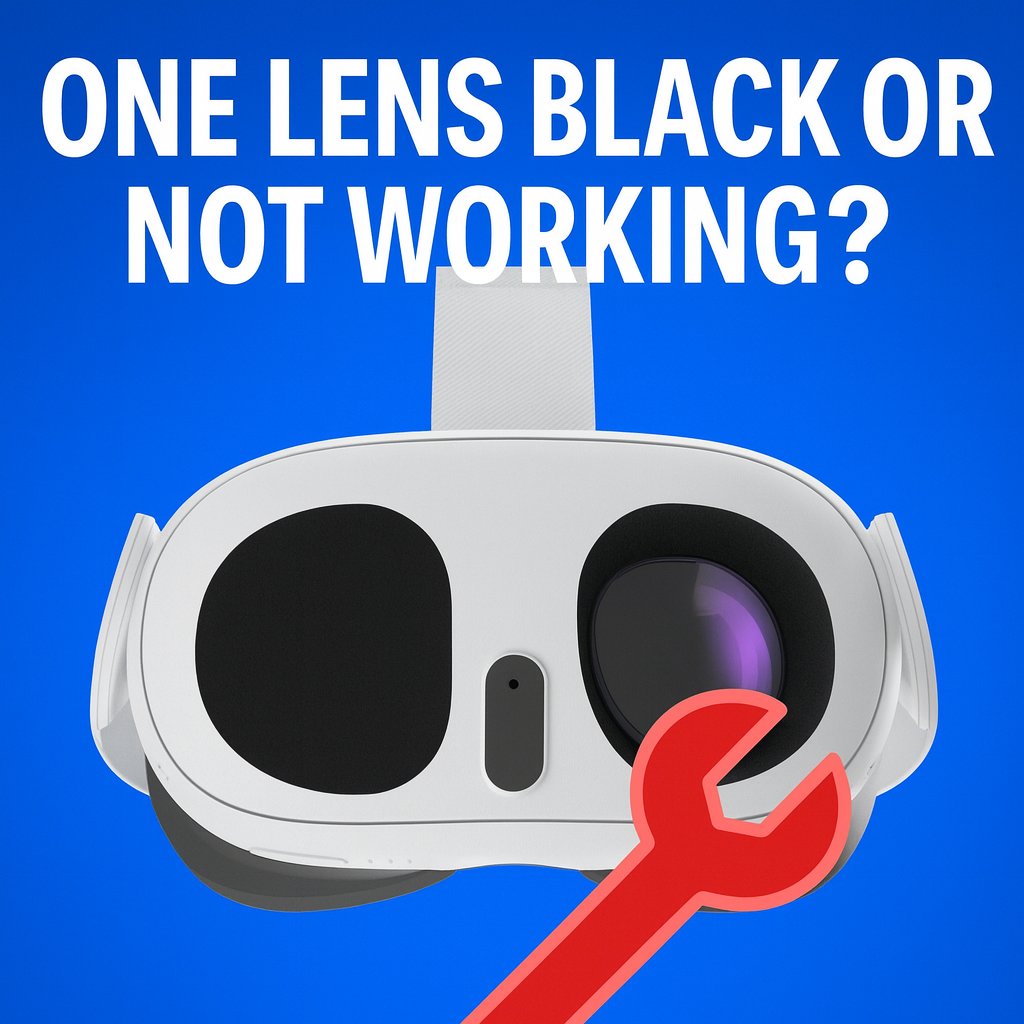
Then one day, one eye goes dark.
You reboot. You factory reset. You swap cables.
Nothing.
Most people assume: “Welp, it’s dead – guess I need a new headset.”
Not so fast.
For a lot of owners, this is a fixable hardware issue, not a death sentence for your Quest.
Before you spend $400–$600 on a new headset, do this:
Step 1: Take 2–3 clear photos (or a short video) showing the good eye and the bad eye.
Step 2: Send them to Mad Lab Repair with the subject line:
“Quest 3 one lens black / not working – quote?”
Step 3: Get a no‑obligation repair estimate so you actually know if it’s worth saving.
Even if you decide not to repair, at least you’ll know whether you walked away from a cheap, fixable problem or a truly dead unit.
If any of this sounds like your headset, this article is for you:
If you’re here, chances are you’ve already:
…and the problem is still there.
Good news: that tells us something important.
It’s very likely not a simple software glitch.
Inside your Quest 3 / 3S, each eye has:
When one eye dies and the rest of the headset seems fine, it usually means one of three things:
A bump, drop, or pressure on the front of the headset can:
The super‑thin ribbon cable that carries the image to that eye can:
Sometimes the headset still boots, but that one eye is starved of signal.
Less common, but we see it:
In all three cases, the result looks the same to you:
“One lens black, everything else normal.”
That’s why resets, updates, and reinstalling apps don’t touch it—
the problem lives inside the hardware, not in your settings.
Before anyone opens your Quest, you can rule out a couple easy things:
If after all that, one eye is still black, dim, or corrupted, you’re beyond the “try this quick fix” stage.
There’s a point where “just troubleshooting” turns into “oops, I made it worse.”
You should stop DIY right away if:
Inside a Quest 3 / 3S, the lens and display parts are:
One slip can turn a simple cable + labor repair into a dead headset that needs a donor unit.
Every headset is different, but here’s what typically fixes these in a repair shop:
If the panel behind the lens is cracked or electrically dead, we:
If it’s a flex cable issue, we:
When the driver circuitry for one eye is damaged, options may include:
The big thing to understand:
a dead lens does not automatically mean “buy a new headset.”
In many cases, the cost to repair one eye is far less than replacing the entire Quest.
This is exactly the kind of problem Mad Lab Repair is set up for.
Here’s what it looks like when you send your Quest 3 / 3S to us:
You reach out with:
We reply with:
If you want to move forward, we send:
Once it lands on our bench:
If it’s not realistically repairable, we’ll tell you. No games.
If you approve the repair, we:
Our goal is simple:
Bring your Quest back to life without you wasting money on a full replacement.
Let’s be real:
If the rest of your headset is fine, throwing it away over a single bad lens is like:
Buying a whole new car because one headlight went out.
At the very least, get a professional opinion and an actual number before you decide.
If your Meta Quest 3 / 3S has:
Then your next move is simple:
1. Take photos or a short video showing the good eye and the bad eye.
2. Contact Mad Lab Repair with the subject line:
“Quest 3 one lens black – quote?”
3. We’ll reply with:
– a likely cause
– whether it sounds fixable
– an estimated price range
No pressure. No obligation.
Just real answers about what’s wrong with your headset and whether it can be saved.
If your headset is still within the official warranty and there’s no physical damage, it’s always worth contacting Meta support first. If they deny it due to drops, cracks, or being out of warranty, that’s when a repair shop like ours comes in.
There are teardown videos, but they don’t show you:
If the headset is already basically “trash” to you, DIY might be an experiment. If you’d actually like it working again, professional repair gives you a much higher chance of success.
Most of your content is tied to your Meta account in the cloud. Hardware repair normally doesn’t touch your account—but if a factory reset was done or is required, any data saved only locally may be lost. We’ll let you know if anything like that is necessary.
Turnaround depends on parts and workload, but once your headset hits our bench, most straightforward display‑side issues are typically turned around in a few business days. You’ll get a more realistic estimate when you request your quote.
A single black lens feels like a disaster—but from a repair standpoint, it’s a very specific, very familiar problem.
Before you spend big on a brand‑new headset:
Send Mad Lab Repair a quick message with a couple of pictures.
Worst case: we confirm it’s not worth fixing and you have peace of mind.
Best case: you get your VR vision back in both eyes for a fraction of the cost of a new Quest.
%20(7).png)
Fix what’s worth keeping.
Copyright © 2025 Mad Lab Repair. All Rights Reserved