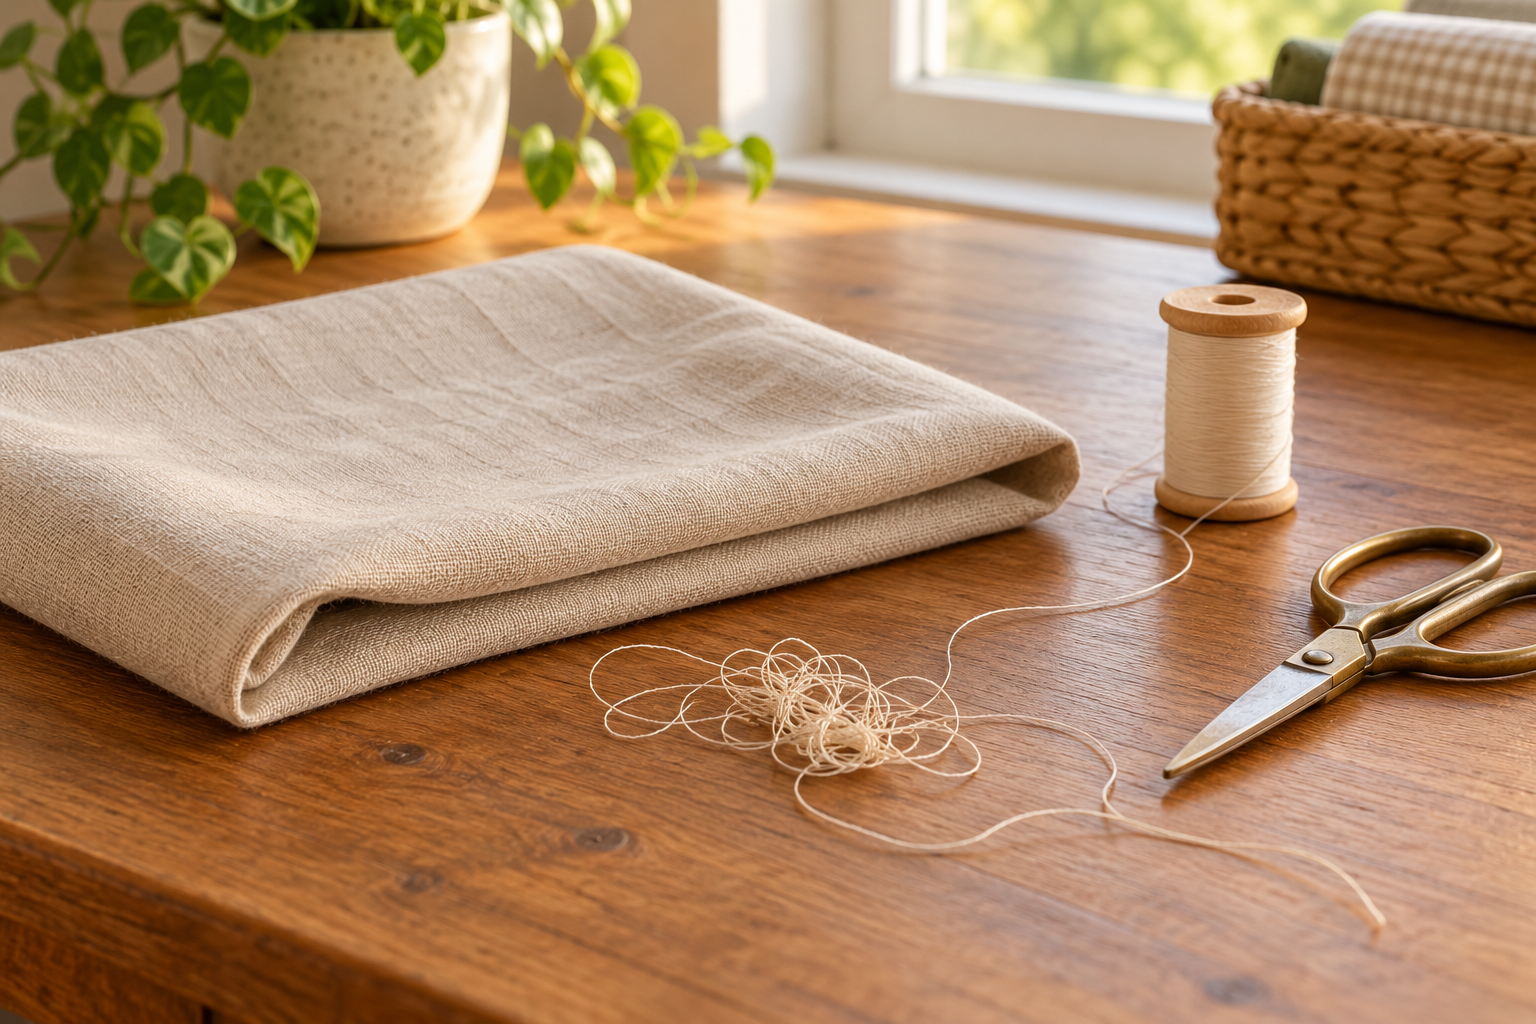
A nest of thread underneath your fabric can make it look as though the bobbin has gone wrong. The location alone does not identify the cause. Threading, bobbin setup and other problems can leave similar-looking tangles, so it is worth separating a setup issue from a machine that needs attention.
This guide covers domestic single-needle sewing machines. It is not a threading or repair procedure for multi-needle commercial embroidery machines, industrial machines or sergers.
Switch off and unplug the machine before reaching around the needle, changing the setup or cleaning. If the fabric is trapped, do not pull it out, force the handwheel or keep pressing the pedal. Find the trapped-fabric procedure in the manual for your exact model. If you cannot complete it safely, leave the machine off and seek service.
Repeated jams, a needle striking the plate, broken parts or unusual resistance are reasons to stop. A damaged cord, burning smell or smoke also means no more sewing; disconnect power only if safe. You do not need to recreate a jam to show someone what happened.
For loose loops rather than a hard jam, start with the manual’s threading section. Singer’s troubleshooting guidance points to upper-thread seating and the take-up lever when loops appear underneath. That makes the upper thread worth checking, but it does not prove that every underside tangle has the same cause.
Follow your manual from the spool to the needle rather than checking only the last guide. The presser-foot and needle positions during threading matter. Singer and Brother’s domestic-machine guidance describe threading with the presser foot raised; use your own model’s sequence for positioning the needle and threading the machine.
With the power disconnected, also check the manual’s requirements for:
There is no single bobbin direction, handwheel direction or tension number to apply across machines. Do not loosen bobbin-case screws, adjust timing or remove covers to chase the tangle. Use only the cleaning and lubrication methods your manufacturer specifies.
Useful details include whether the nest appears immediately or partway through a seam, whether it began after a needle or bobbin change, and whether it affects different fabrics. Save the tangled sample if it is already safely removed.
Loose loops underneath, fabric puckering and a needle stuck in the material need different troubleshooting. On a sewing-and-embroidery machine, trouble with one embroidery design or fabric also leaves questions about the design and setup. It does not establish a timing fault or failed electronics.
If the manual’s checks do not resolve the problem, a local sewing-machine dealer or technician may be the most useful next step. A setup demonstration can help distinguish a threading problem from a fault without sending a heavy machine away. Ask what accessories and fabric or thread samples they need for assessment.
For a newer machine, check manufacturer or retailer support and warranty options before arranging independent work. Persistent nesting alone does not tell you which part needs replacement.
Compare the total assessment and repair cost with a replacement that actually meets your needs. Include packing, insured shipping both ways and any charge if you decline the repair or the machine cannot be fixed. Those costs can make mail-in service a poor fit for an inexpensive machine. A capable machine you know well may be a different decision.
Before shipping, confirm that the service accepts your exact model and get its packing instructions. Do not send it based only on a general sewing-machine repair listing.
If you would like to share the problem with Mad Labs, use the repair request form. The model number, a photo of the existing stitching and what you have already checked can help describe the issue. There is no need to run a jammed machine for a new photo or video.

Fix what’s worth keeping.
Copyright © 2025 Mad Labs Repair. All Rights Reserved